


7 Kitchen Spring Cleaning Jobs You Can Do in 20 Minutes or Less
Short on time? Take just 20 minutes a day to tackle these mini spring-cleaning jobs for a sparkling kitchen

Spring cleaning can seem like a daunting task, but, by breaking it down into small jobs, you can really start to make inroads without feeling overwhelmed.
Each of these jobs is a mini spring clean that tackles an area that isn’t usually part of a regular cleaning routine, but shouldn’t take more than 20 minutes to complete. Do one task a day and, by the end of a week, you’ll have a fresher, brighter kitchen to enjoy.
Each of these jobs is a mini spring clean that tackles an area that isn’t usually part of a regular cleaning routine, but shouldn’t take more than 20 minutes to complete. Do one task a day and, by the end of a week, you’ll have a fresher, brighter kitchen to enjoy.
2. De-grease the microwave
This is an easy job that can make your kitchen look – and smell – spring fresh. First remove the microwave plate and pop it in the dishwasher or give it a soak in a bowl of hot soapy water.
While this is soaking, fill a small bowl with water, add a squeeze of lemon, then pop it in the microwave and run it on high for a couple of minutes to create plenty of steam. Let it cool down for a couple more minutes, then wipe the interior down with a cloth.
All that fresh, lemony steam acts as a degreaser to melt away any food residue, and it will make your room smell lovely, too.
Finally, give the door and exterior a polish with a non-toxic cleaning spray and replace the plate.
3. Wipe down fridge shelves
Cleaning out the fridge is another job that often gets pushed to the back of the list, but it’s a satisfying one to tackle and you can make a tangible difference, even in 20 minutes.
Focusing on one shelf at a time, take everything out, place it in a cool box then remove the shelf and give it a wash down in the sink with hot soapy water before rinsing and popping it back.
To make this spring cleaning job easier in the future, place a layer of kitchen roll in the base of any deep drawers or door compartments to help catch any spills when they happen.
Grouping loose items or jars into open boxes can also help you to organise your fridge shelves and keep on top of what you have.
Looking for a kitchen designer? Find local professionals on Houzz today.
4. Clean pendant lights
It’s common to have pendant lights over a kitchen island or dining table, but these can be a magnet for grease and dust, particularly if they’re positioned close to the cooking area.
Removing the shade is often the easiest way to clean one of these, but if that’s not possible, give it a gentle clean and polish with a slightly damp cloth while switched off. Make sure it’s fully dry before turning it back on again.
Replace any bulbs if required, and make a note to also stock up on spare bulbs for future use.
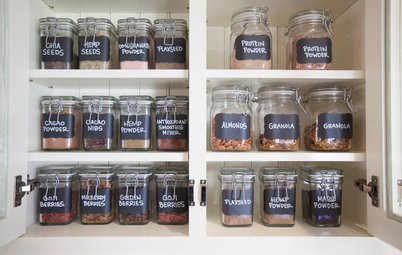
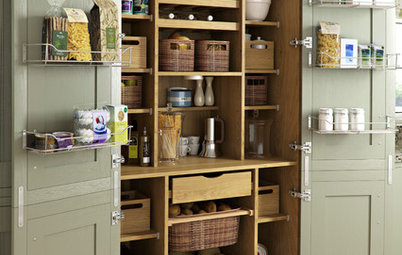
5. Sort through tins and packets
If your pantry cupboard has seen tidier days, a quick spruce up can make it feel much more under control.
Start by taking 20 minutes to sort through all the tins and packets to check for best-before dates. Grab a cardboard box and fill it as you go with anything that will soon be out of date. That way, you’ll have a box of items to use first when planning your next meals.
If you like to decant food into jars or containers, make sure you write the best before date on a piece of paper on the back of the container. Professional organiser Sophie Aroutcheff also suggests you “make sure the containers are big enough to hold a full new packet, so you don’t end up having lots of little ends of packets to store”.
More: Do These 7 Things to Get an Organised Kitchen Store Cupboard
6. Clean the oven door and shelves
Cleaning the oven is a big job and one we probably all put off, but when broken down into two parts, it can seem much more manageable. Start your spring clean by tackling the door and shelves first.
Once you’ve finished using the oven for the day, remove the shelves and place them in the sink or a large plastic box, add boiling water and a large scoop of washing or baking soda and leave them to soak overnight.
While they’re soaking, turn your attention to the door. Mix a paste of bicarbonate of soda and warm water and use this to gently scrub the inside of the door. Rinse clean with fresh warm water then give the outside of the door a polish with a toxic-free cleaning spray.
7. Clean the inside of the oven
Now the door is clean, it’s time to tackle the inside of the oven. Following the same principle as the microwave tip above, start by putting an ovenproof dish of water and lemon juice in the oven and switch it on to let the degreasing action of the lemony steam get to work.
Once the water is bubbling, switch the oven off and let it cool, then, using a paste of bicarb and water, give the inside of the oven a good scrub. Rinse it clean with warm water.
Finally, remove the oven shelves from their overnight soak, rinse them down and pop them back in the oven. No scrubbing required.
Tell us…
What are your kitchen spring cleaning tips? Share your thoughts in the Comments.


Sponsored
Reload the page to not see this specific ad anymore
The extractor fan is often overlooked when it comes to day-to-day kitchen cleaning; it’s greasy and often tricky to reach, and tackling it can seem a daunting task. However, in reality, it’s a fairly simple job that doesn’t take too long, and it’s a very satisfying one to tick off the to-do list.
Remove the filter and either wash it in hot soapy water or replace it as required, then wipe down the exterior of the unit with a cleaner that’s designed to cut through any greasy residue and give it a good polish. When you’ve finished, pop the new or washed filter back in and make a note on your calendar to check it again in a few months’ time.