Refine by:
Budget
Sort by:Popular Today
41 - 60 of 341 photos
Item 1 of 3
After a lot of editing and staging, the beauty and grace of this property are clear to see. 47 days on the market and SOLD! Proof that staging works.
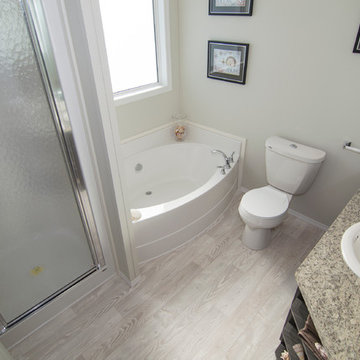
Triple M Housing's 2015 show home featuring EVO profile PVC cabinets in Licorice, Uptown stainless door & drawer pulls, White Oak wood look linoleum, Full cream subway tile backsplash with decorative glass tile insert. This Manufactured home defies what is traditionally thought of as a "Mobile Home
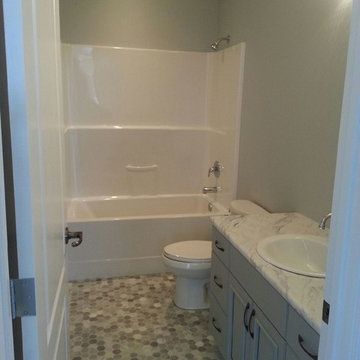
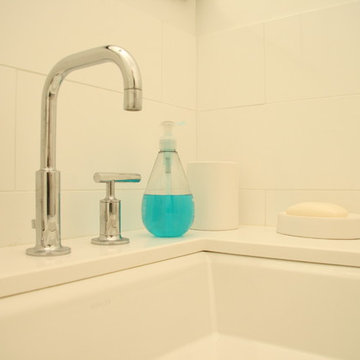
In the remodeled bathroom we chose Caesarstone® counters. This man-made composite material is durable and easy-to-work-with, and is more uniform in color, with no veins or inconsistencies as can occur in natural materials.
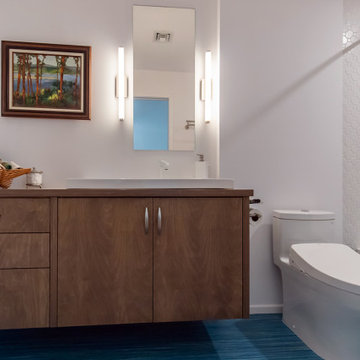
The floating vanity cabinetry has the same design features as the Kitchen cabinetry, with the exposed edge graining.
Build: Jackson Design Build.
Designer: Penates Design.
Photography: Krogstad Photography

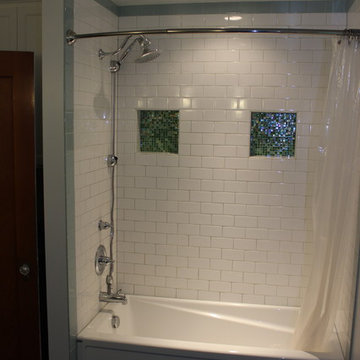
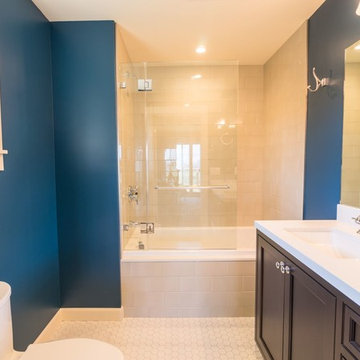
Glass tiles were interspersed in a field of less-costly ceramic tile to create a literal splash of color while controlling the budget.
Photo: Erick Mikiten, AIA
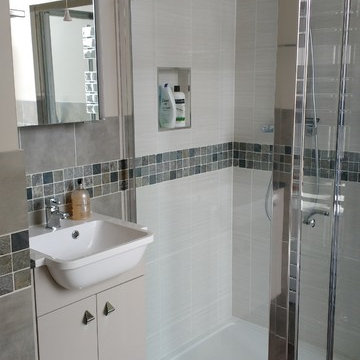
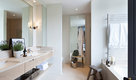
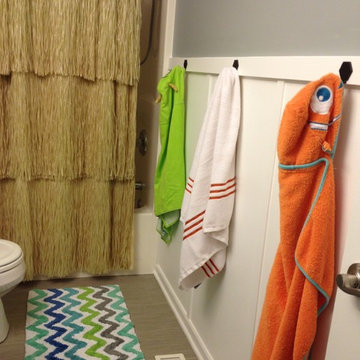
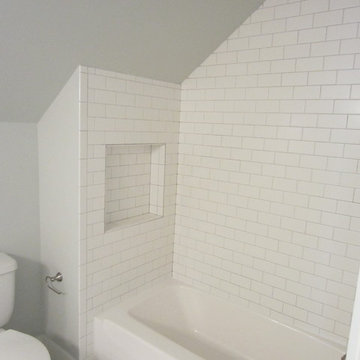
Here is a recently refurbished bathroom where we designed the layout to make the best use of the small space.
#bathroom #qualityfirst #design #refurb #jasbuildingservices
Photo by: JAS Building Services
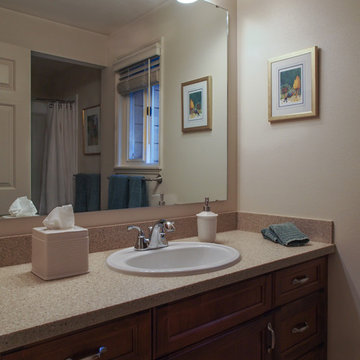
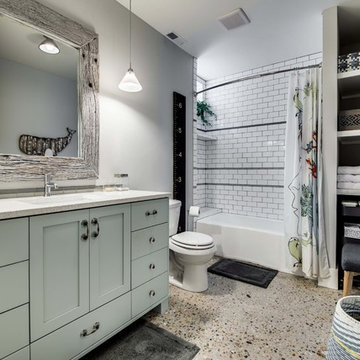
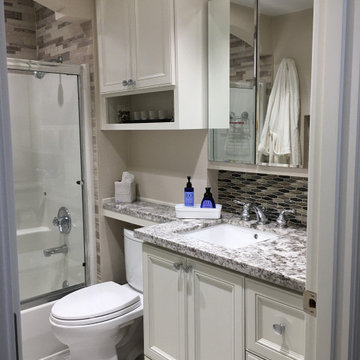
The vanity, decorative cabinet hardware and faucet were replaced in this builder grade bathroom. The light fixtures, mirror and sink were recycled from the original bathroom. The net result is more storage and a beautiful updated look.
Photo: A Kitchen That Works LLC
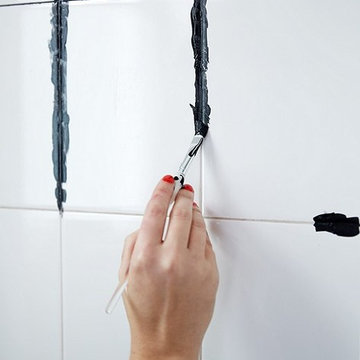
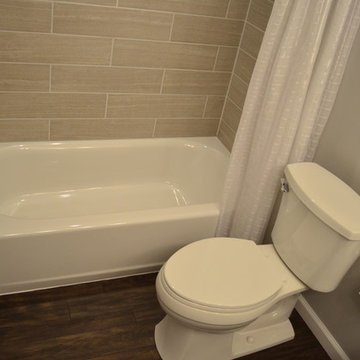
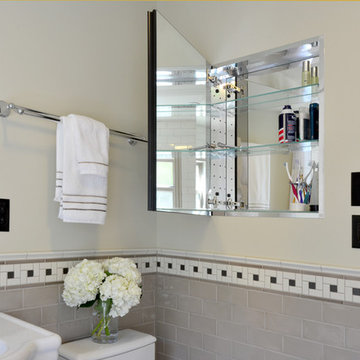
Step 4: A Quick Tile Fix: With the plumbing fixtures updated I turned my attention to the tile. If budget and time were no object, Glen and Louise would have preferred to replace the tiles with a more interesting option. In reality, however, that option was out. On the upside, the tiles were in good shape and relatively inoffensive. To add a little graphic oomph, I used a paint-on grout dye to darken the existing white grout lines.
The process of dyeing grout is really simple: You paint the product on and then wipe away the excess with a paper towel or a rag. Don’t worry; the dye stains only the grout joints. I found that working on small sections of wall works best. If you try to cover too much space at a time you’ll end up really needing to scrub to get the dye off.
Photo by Manuel Rodriguez
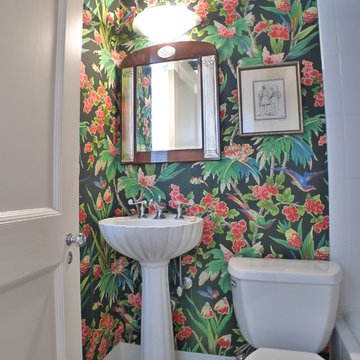
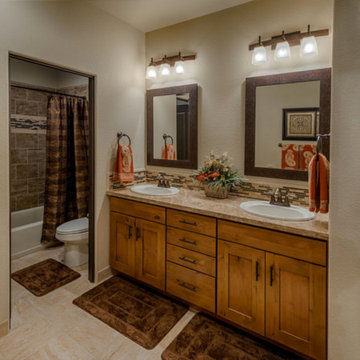
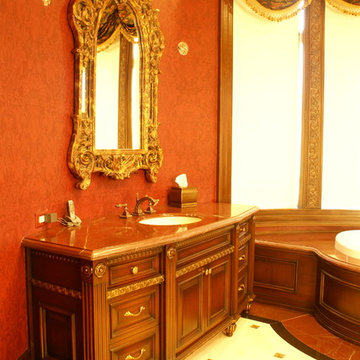
This standard size guest bath feels larger than it is. A custom made cabinet and vanity top help expand the space.
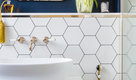
Bathroom and Cloakroom with an Alcove Bath and Lino Flooring Ideas and Designs
3