Book Extract: How to Create a Vintage-style Storage Box
This vintage-style craft make is taken from ‘Creative Ideas to Organize Your Home’ by Linda Peterson

Linda Peterson demonstrates how to create a vintage-inspired storage box in an edited extract from her book, ‘Creative Ideas to Organise Your Home’.
1 Cut the following pieces from the vintage wooden ruler: three 4in (10cm) long pieces (front, back and base) and two 3in (7.5cm) long pieces for the ends. Sand and then stain all the pieces in your chosen colour.
2 Align the bottom and side pieces as shown. Carefully hammer in the nails along the length to secure. When you’ve finished with this step, you will have a U shape.
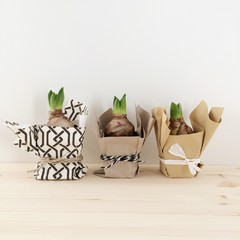
See how to create pretty gift packaging
See how to create pretty gift packaging
3 Attach the ends with nails. Cut a length of dowel to fit between the end pieces and fix in place by hammering a nail through each end piece into the dowel.
4 Attach the decorative plate to the front of the toolbox with a small screw, or you can glue it into place if you prefer.
Just a note:
Partly hammer the nails into the bottom piece before you start attaching the sides – this will make it easier to hammer them into place. When hammering the front onto the base, place another length of wooden ruler underneath in the centre for extra support.
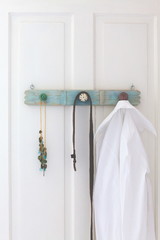
Learn how to make your own cushions
Just a note:
Partly hammer the nails into the bottom piece before you start attaching the sides – this will make it easier to hammer them into place. When hammering the front onto the base, place another length of wooden ruler underneath in the centre for extra support.
Learn how to make your own cushions

Sponsored
Reload the page to not see this specific ad anymore
You will need:
• Vintage wooden ruler (approx 1½in (4cm) wide and ¼in (5mm) thick)
• Tape measure or ruler
• Mitre / hacksaw
• Sanding block
• Wood stain
• Paintbrush
• ½in (1.25cm) nails
• Hammer
• Wooden dowel
• Decorative metal plate (brass jewellery finding)
• Small screw
• Screwdriver