How to Manage Your Time & Expenses

In the Time and Expenses section of Houzz Pro, you can manage your time and expense rates and services for different team members. This article will cover how to create, edit and manage entries. If you need help to use the stopwatch to track your time, read this article.
You can see all the time and expense rates for different team members in one view, where you can sort, edit, create, and delete them. These services are saved for use on your future projects.
To access your main Time and Expenses page, click on Time & Expenses under the Management section found under the search icon in the left navigation. You can also click on the Time Entry icon in the Create New tile on your homepage.
You can access Time and Expenses for a specific project by clicking Time & Expenses under the Management section in the left menu on any project overview page. This will only show you entries from the corresponding project.
Create a New Time Entry
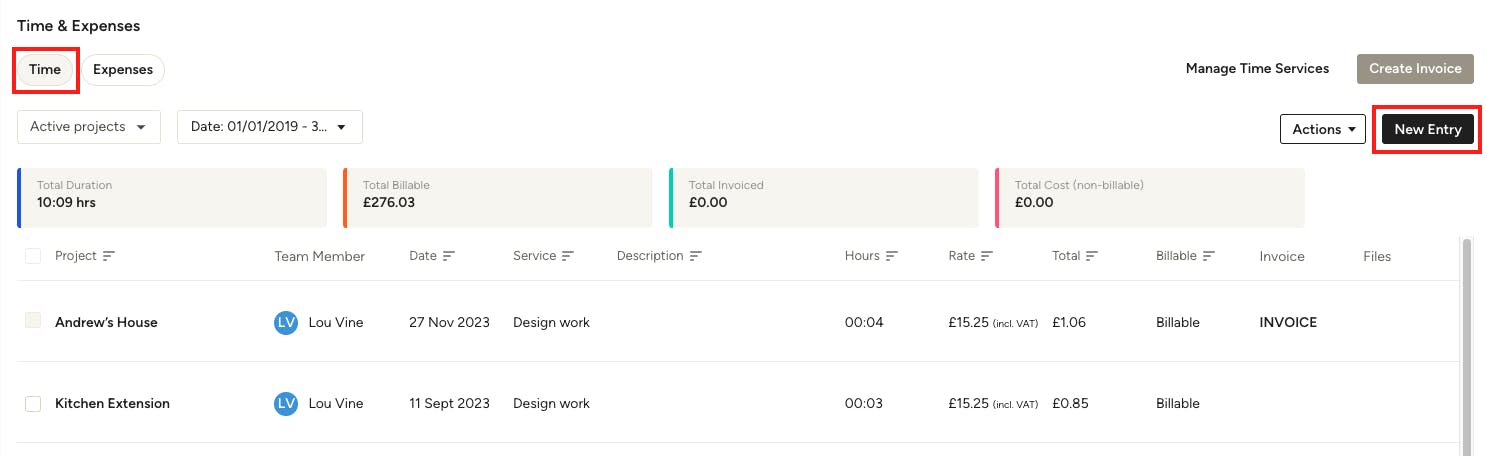
In order to manage your time and expense services, you'll first need entries. To create a new time entry, click the New Entry button in the top right on your Time and Expenses page. Make sure you are on the Time tab, located at the top of the page.
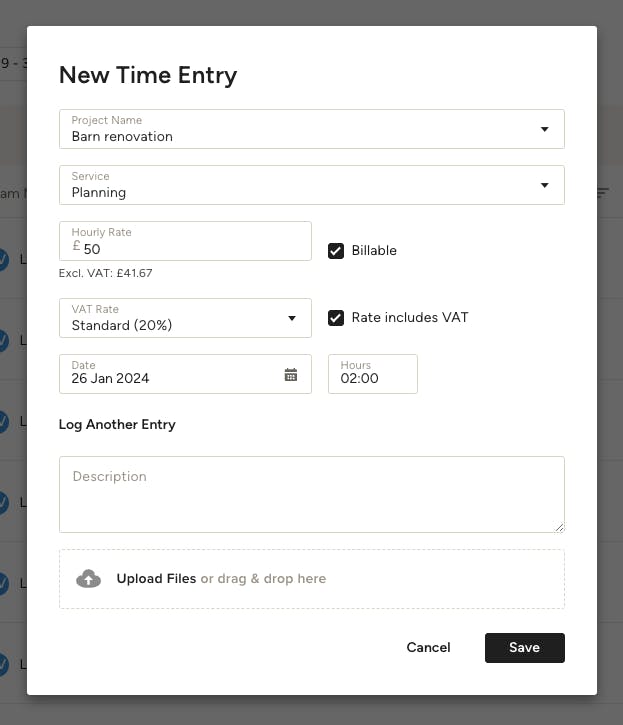
In the modal that pops up, enter the relevant details, including project name, team member, service, date, hourly rate, hours and any description or files necessary.
If there are no existing services, simply type the name of the service you wish to add/create and hit Enter.
Click the Save button and you will see the new time entry listed on the Time and Expenses page.

You can edit or delete an entry by clicking the three dots on the right side of the entry and selecting the action you want to take.
Note that for proper record-keeping purposes, an entry cannot be deleted or edited once it’s linked to a document, such as an issued invoice.
Create a New Expense Entry
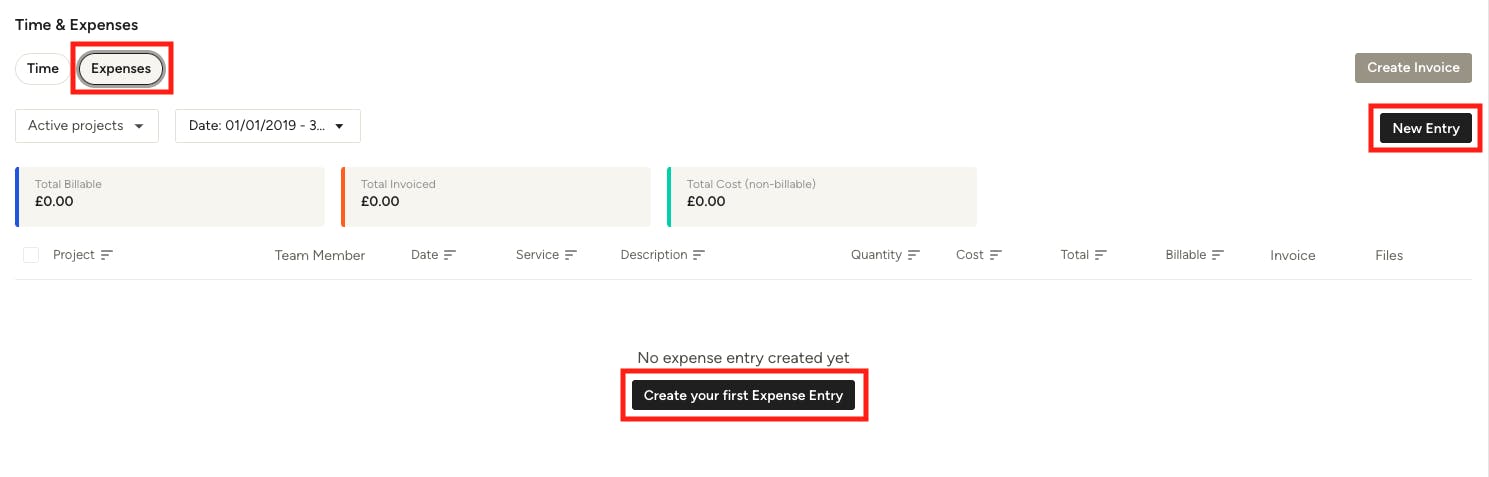
To create a new expense entry, navigate to the Expenses tab located at the top of the Time & Expenses page. From there, click the New Entry button in the top right of the page or the Create your first Expense Entry button in the middle of the page if you haven't created an expense before.
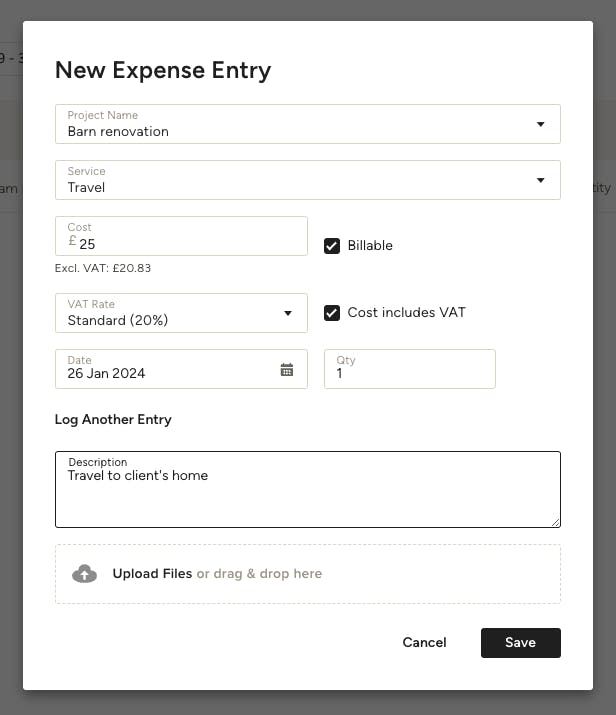
In the modal that pops up, enter the relevant details, including project name, service, cost, VAT rate, quantity and any description or files necessary.
If there are no existing services, simply type the name of the service you wish to add/create and hit Enter.
Click the Save button and you will see the new expense entry listed on the Time and Expenses page.
Sort by Team Member, Date, or Service
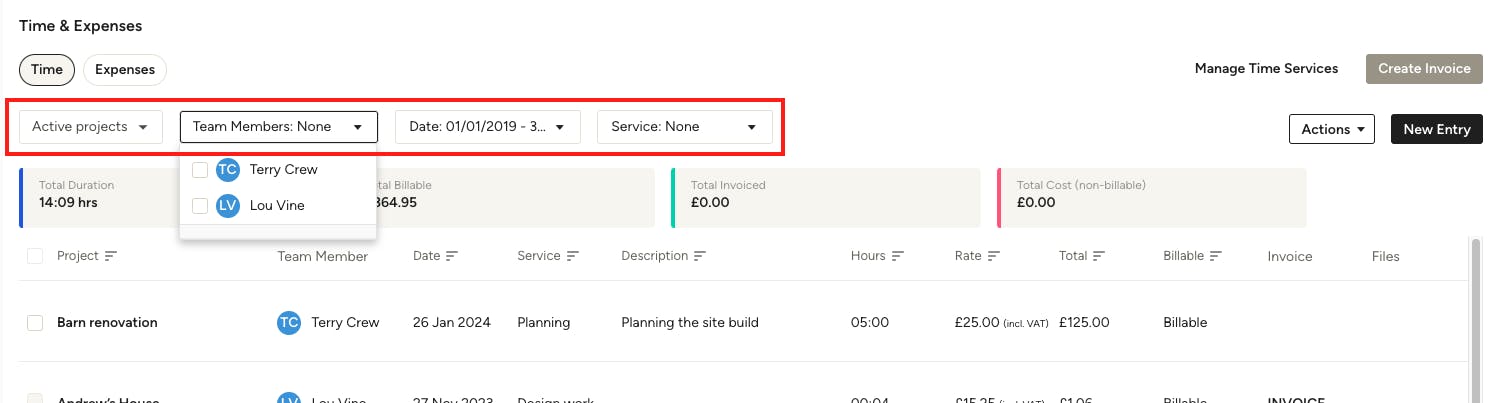
You can sort your time or expenses by project, the team member responsible, the date associated with it, or the type of service provided. You’ll see a summary of the total time duration, total billable amount, total invoiced amount, and total cost (non-billable), and this will adjust according to the filters you apply.
Edit, Delete, or Create Services
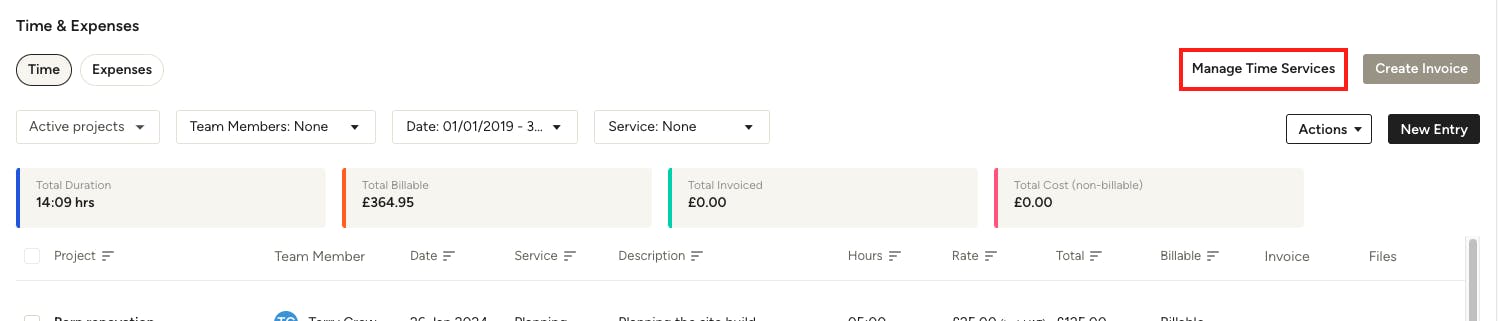
You can edit and delete services, as well as create new services, directly from the Manage Services screen. To access these options, click Manage Time Services from top of the Time tab, or Manage Expense Services from the Expenses tab.
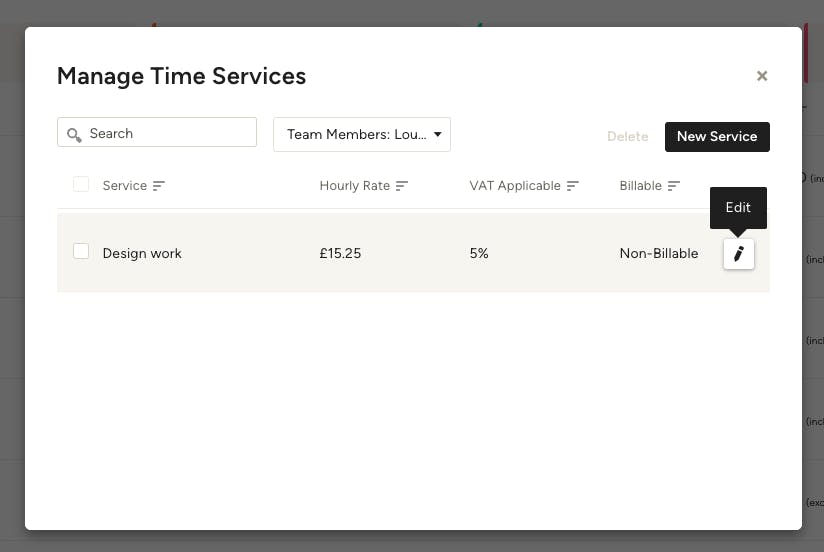
From here, you can click the pencil icon next to a service to edit it, or select the checkbox to the left of one and click Delete in the top right to delete it. Note that for proper record-keeping purposes, a service cannot be deleted once it’s linked to an entry.
To add a new service, click New Service in the top right and fill in the relevant information, then click Save.
Sort and Search in Manage Services
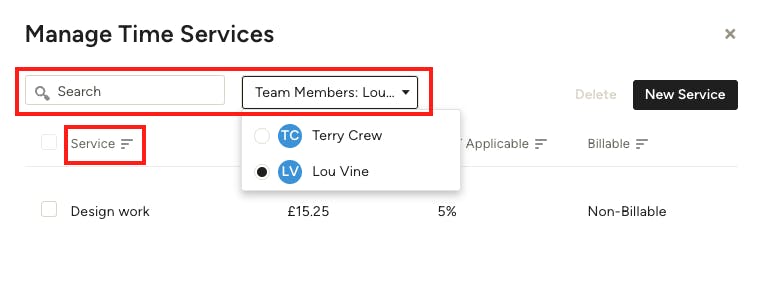
In the Manage Services screen, you also have the ability to filter by team member and search using keywords. Additionally, you can sort the services A-Z or by Hourly Rate by clicking the column names to switch the order.
Create an Invoice From Time & Expense Entries
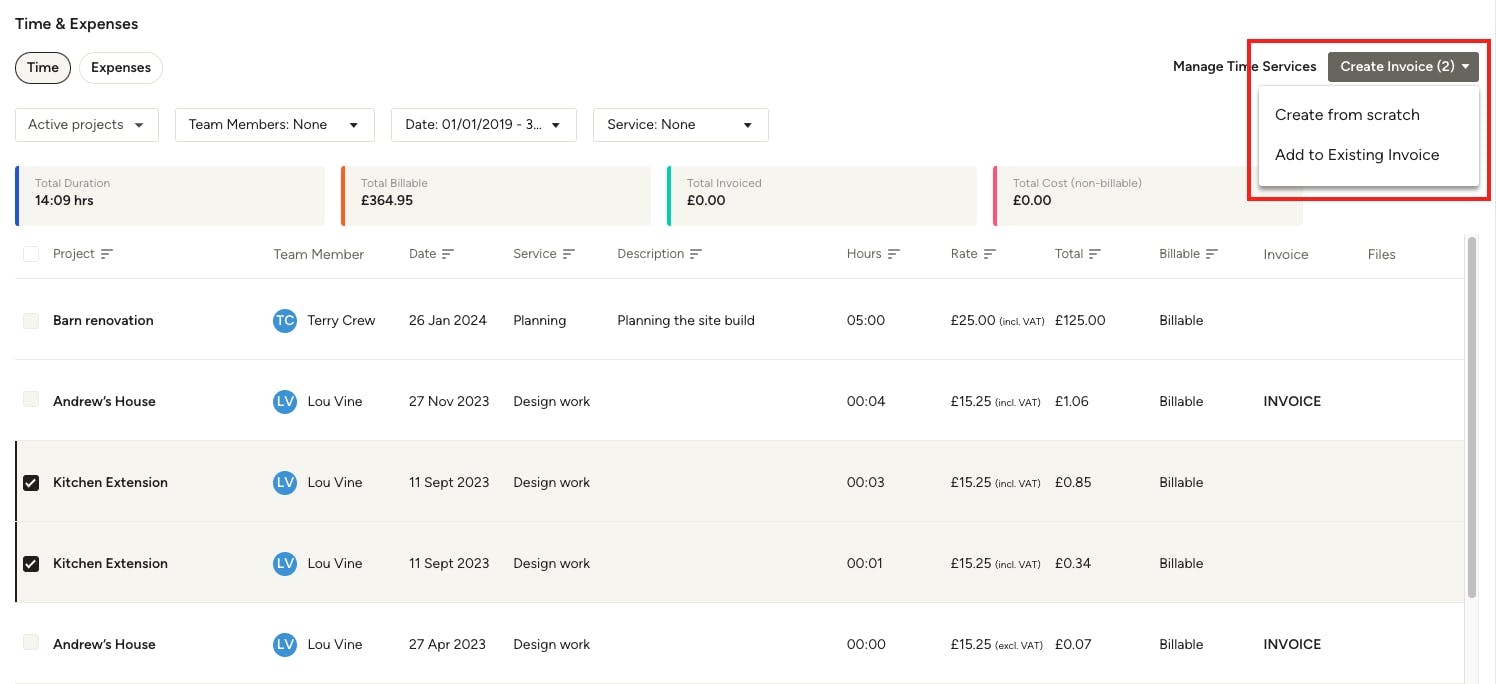
From the Time and Expenses section, you can create an invoice from your entries simply by checking off the ones you want to include and clicking the Create Invoice button in the top right.
Select "Create from scratch" to create a new invoice. If the project has open invoices, "Add to existing invoice" will also be an option.
Looking to add time entries to an existing invoice? Check out this article to learn how.
Export Time & Expense Entries to Excel
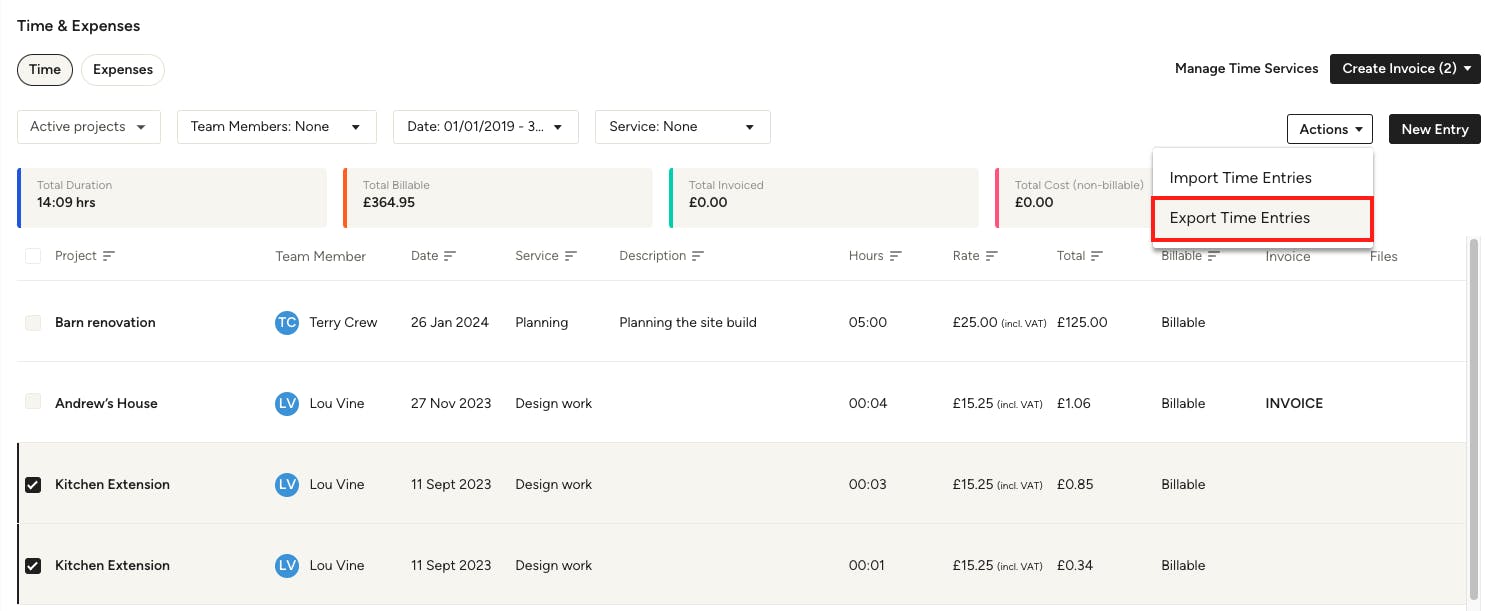
You can also export the entries to Excel by selecting Export Time Entries under the Actions dropdown (in the Time tab). This will export all time entries. From the Expenses tab, click the Export button in the upper right.
Import Time Entries from Other Software
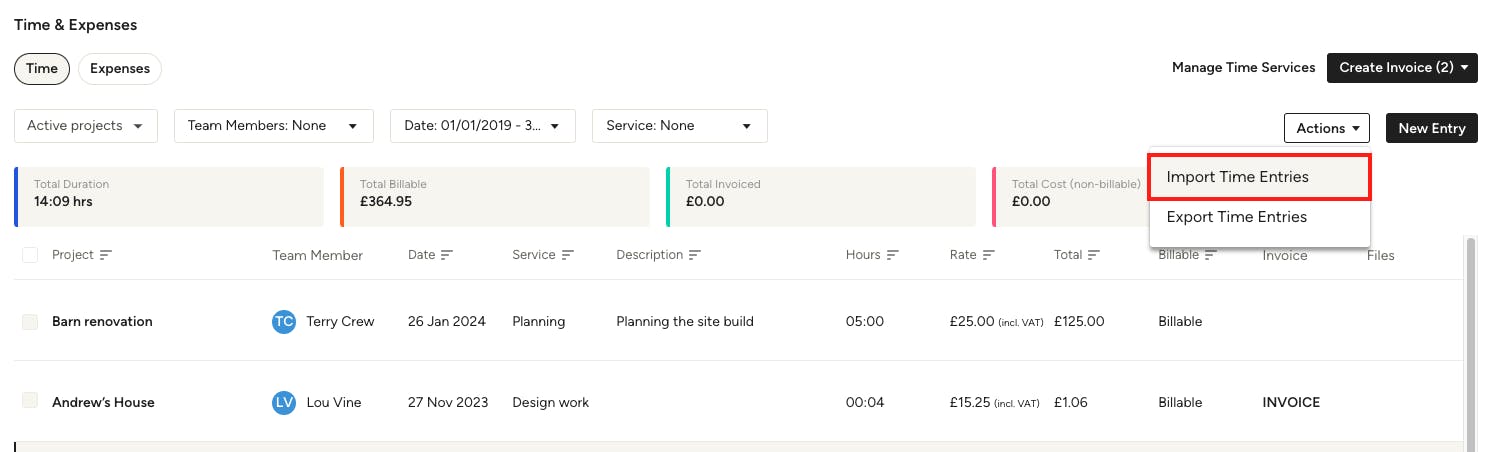
From the Time and Expenses section, you can import time entries from other software services, such as Harvest. For a successful import, you'll need to ensure that you're uploading Excel or CSV files only, and the required fields are filled in.
Select Import Time Entries under the Actions dropdown to get started.
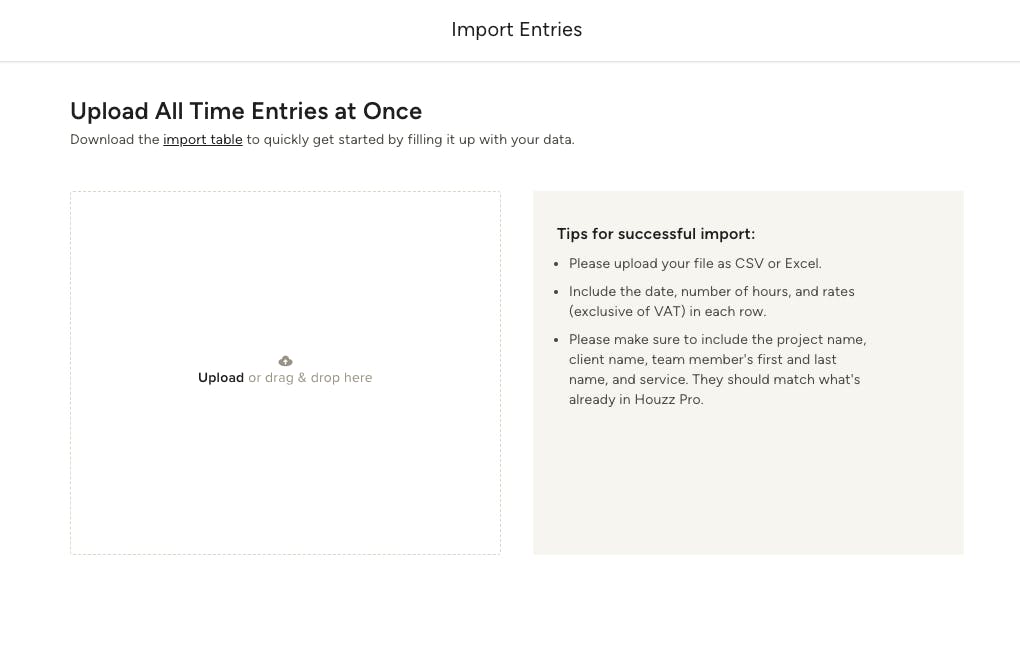
Next, you can either download the import table template and fill it in with your data, or upload your own file as long as it contains the required fields. Make sure to include the date, number of hours, and rates in each row.
Also be sure to include the project name, client name, team member's first and last name, and service. They should match what's already in Houzz Pro.
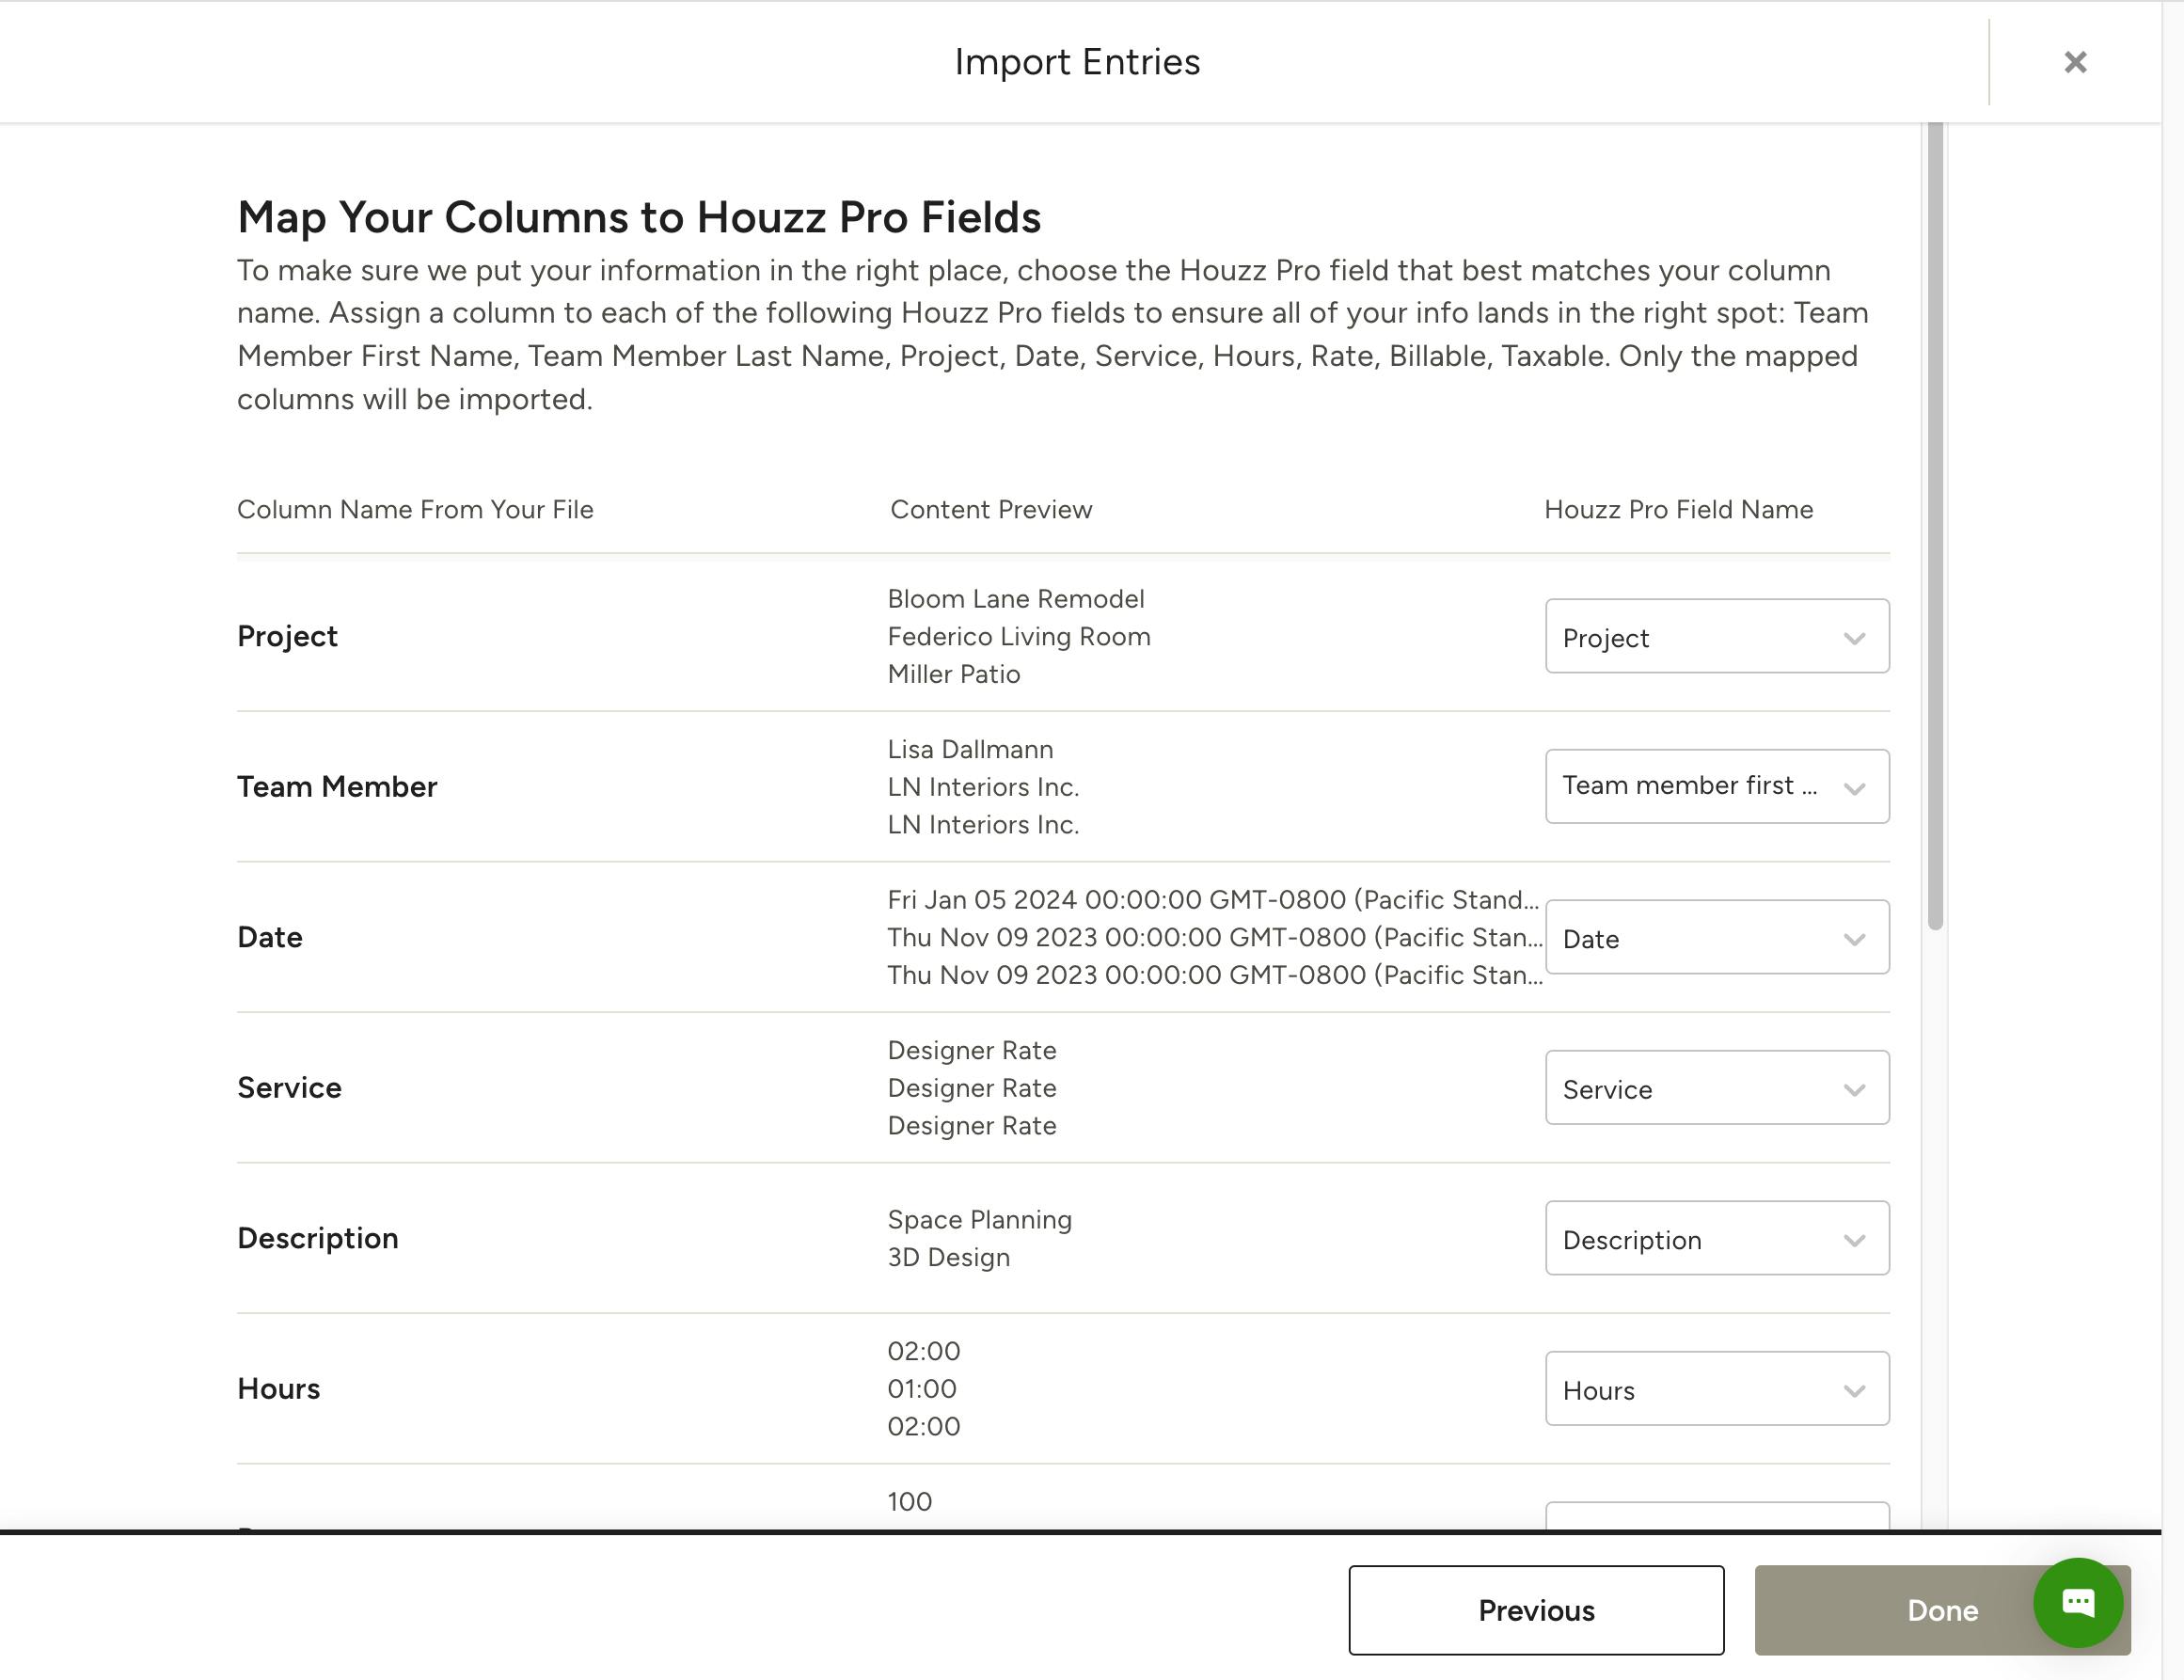
Next, confirm that your columns are mapped to the correct Houzz Pro field. Only mapped columns will be imported. Click Done and you're all set!