


These Insider Decorating Tips Will Give Your Project a Pro Finish
Ever envied a professional decorator's flawless finish and wondered how to make your DIY results as perfect? Here's how
Sarah Warwick
4 September 2017
Houzz Contributor. I'm a freelance journalist and editor writing for nationals, magazines and websites. A serial house revamper, I love great design, beautiful interiors and practical solutions.
Houzz Contributor. I'm a freelance journalist and editor writing for nationals, magazines... More
Deeply satisfying if you get it right, DIY can be a downer if the results look amateurish. But painting, tiling and wallpapering needn’t leave you writing ‘could do better’ on your own report. Professionals use tried and tested methods, tools and routines to get fantastic finishes, but these are repeatable by you at home. Dedicating time to the less exciting preparation tasks, working in the right order and using products favoured by experts means you can live up to your own high decorating standards.
Mind the gap
To avoid gaps between walls and woodwork – skirting boards, window and door frames and staircases – the pros use decorator’s caulk to fill gaps. Why not use a standard filler? It’s because there may be movement, so a flexible filler like this that won’t develop cracks is essential. Make sure you choose a paintable version for a seamless finish.
To avoid gaps between walls and woodwork – skirting boards, window and door frames and staircases – the pros use decorator’s caulk to fill gaps. Why not use a standard filler? It’s because there may be movement, so a flexible filler like this that won’t develop cracks is essential. Make sure you choose a paintable version for a seamless finish.
Create clean lines
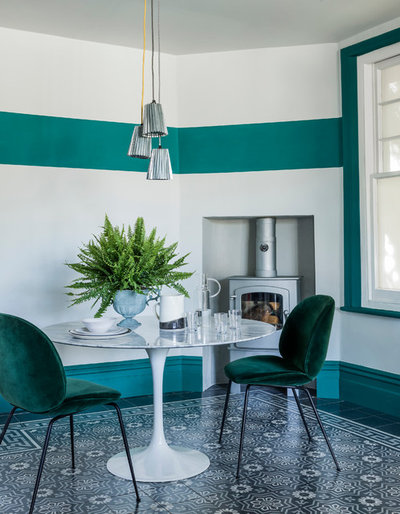
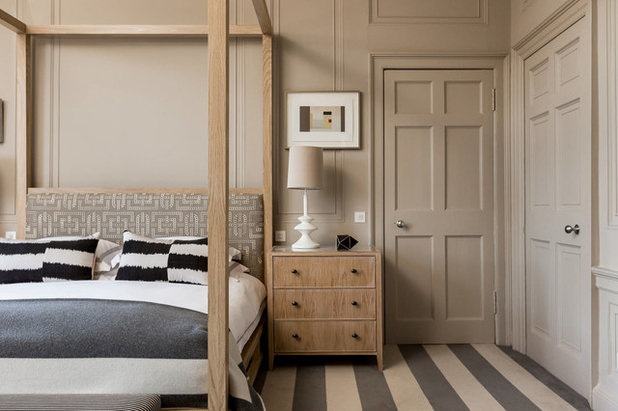
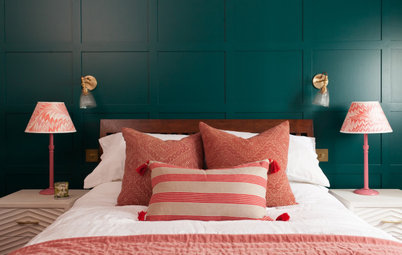
Masking off areas such as the glass in a window with tape before painting can save the time and trouble of cleaning up inaccurate efforts. Tape will also aid in the creation of decorative paint features such as the stripes in this room.
It’s the slightly pricier but thicker painter’s tape you need for the job, not regular masking tape. The professional-preferred product will give you cleaner lines as well as being low-adhesive, which can be left on longer without causing problems.
Once you have the tape for the job, do make sure you press its edges well down because paint can get underneath, spoiling the neat edge.
Find out how to use stripes in your schemes
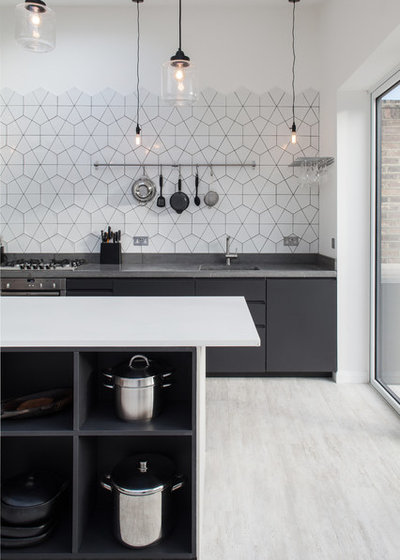
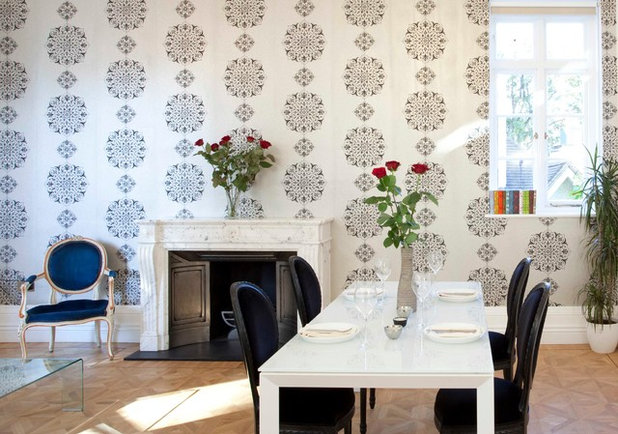
Get grout into joints
For a top-end tiled finish that will stay looking fabulous, it’s necessary to fill each of the joints between tiles thoroughly. Grout floats and squeegees are there to do the job, but some experts use just a damp decorator’s sponge to work the grout well in, and there’s no reason not to follow their lead to make life easier. Bear in mind that a separate clean, damp sponge is a must-have for cleaning grout from the surface of the tiles while it’s still wet.
For a top-end tiled finish that will stay looking fabulous, it’s necessary to fill each of the joints between tiles thoroughly. Grout floats and squeegees are there to do the job, but some experts use just a damp decorator’s sponge to work the grout well in, and there’s no reason not to follow their lead to make life easier. Bear in mind that a separate clean, damp sponge is a must-have for cleaning grout from the surface of the tiles while it’s still wet.
Sort out slopes
Not all ceilings are even and patterned wallpaper will find them out. If yours is a challenge, take the old hand’s route. Don’t cut lengths of wallpaper in advance – instead, hang the first piece then match the next against it.
Not all ceilings are even and patterned wallpaper will find them out. If yours is a challenge, take the old hand’s route. Don’t cut lengths of wallpaper in advance – instead, hang the first piece then match the next against it.
Cut in first
For a neat paint finish that looks the business, apply paint with a brush where the wall meets the ceiling, along skirting boards and around windows and corners – called cutting in – before you get on with painting the wall itself. An angled brush helps work right into corners. Hold the brush so you can use your index finger on its thin side for control. Don’t go straight for the corner or edge, working towards it instead for a clean line.
For a neat paint finish that looks the business, apply paint with a brush where the wall meets the ceiling, along skirting boards and around windows and corners – called cutting in – before you get on with painting the wall itself. An angled brush helps work right into corners. Hold the brush so you can use your index finger on its thin side for control. Don’t go straight for the corner or edge, working towards it instead for a clean line.
Remove handles
OK, it seems as if leaving a handle on will make a painting job quicker but don’t be fooled – and even masking it off won’t give the same finish, either. It’s worth taking off door furniture before you start, including hooks and keyhole plates. Wedge the door open on either side before you begin, too.
OK, it seems as if leaving a handle on will make a painting job quicker but don’t be fooled – and even masking it off won’t give the same finish, either. It’s worth taking off door furniture before you start, including hooks and keyhole plates. Wedge the door open on either side before you begin, too.
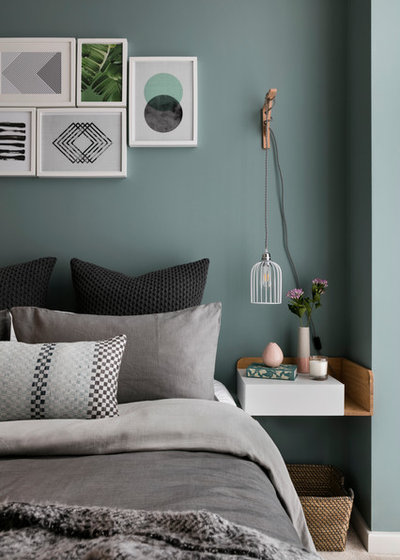
Lose the joins
Here’s another wallpaper trick: it’s definitely not the joins in wallpaper that should be its standout feature, so how to avoid drawing attention to them? Start hanging paper in the corner of the wall next to the wall with the main window and work away from the window so any little overlaps won’t cause shadows. Right-handed? The wall to the right’s a good starting point, and vice versa if you’re left-handed.
The exception to the rule is large patterned wallpapers. Here, begin from a chimney breast or other central feature so the design’s centred as well. Work outwards in either direction before carrying on with the rest of the room.
Perfect the surface
Professional decorators know that success lies in really good preparation before painting. Skimp at an early stage and the flaws will show through, detracting from the fabulous colour or acres of gorgeous white. Use an interior filler for cracks and always let it dry completely before sanding it back to level it with the wall surface.
Professional decorators know that success lies in really good preparation before painting. Skimp at an early stage and the flaws will show through, detracting from the fabulous colour or acres of gorgeous white. Use an interior filler for cracks and always let it dry completely before sanding it back to level it with the wall surface.
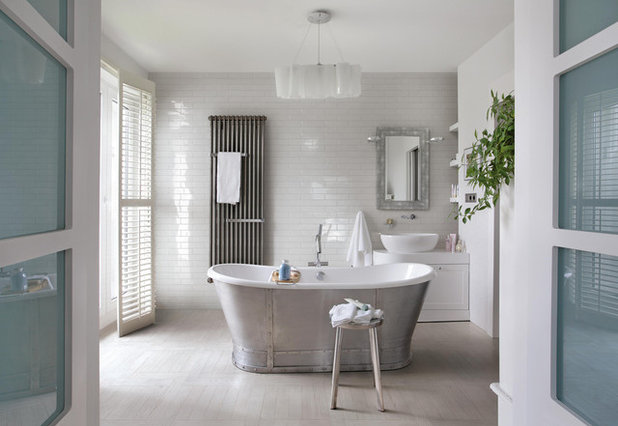
Straighten up
It would be nice to think that your bath, floor or the ceiling’s straight but, as with many things in life, appearances can be deceptive. The lesson from the experts? When you’re tiling the wall, use a plumb line to create the vertical for results that don’t feel like a house of fun.
Discover tiling ideas for your bathroom
Roll with it
Yes, pros use brushes for cutting in and other jobs, but using a roller’s the trick when it comes to painting the walls, and work will be speedier. A word of caution, though. Roll too frenetically and there will be spatter. And work from the top of the walls downwards when you roll – that way any mistakes are corrected as you go.
What’s your top tip for creating a professional finish when you’re decorating? Share in the Comments below.


Related Stories
More Rooms
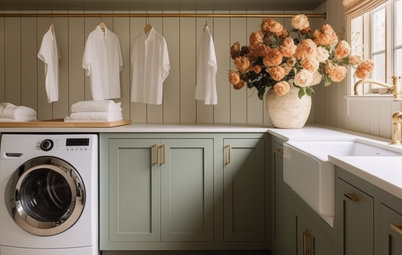
The 5 Most Popular Laundry Rooms on Houzz Right Now
Get decorating ideas for your laundry or utility room from these most-saved photos on Houzz
Full Story
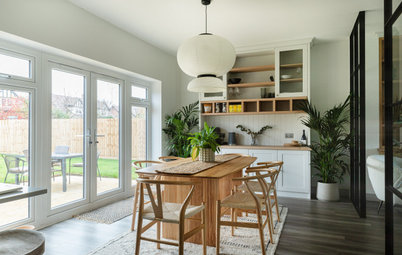
Dining Rooms
The 5 Most Popular Dining Rooms on Houzz Right Now
By Kate Burt
Vintage furniture, great lighting and top tables – feast your eyes on dining room ideas collated from your own clicks
Full Story
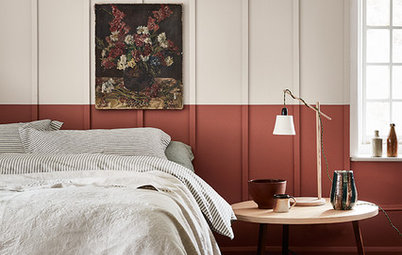
Colour
8 Clever Ways to Use Strategic Colour Blocking in Your Home
By Kate Burt
Paint can do so much more than refresh your walls. Explore ways to highlight features, zone areas and trick the eye
Full Story
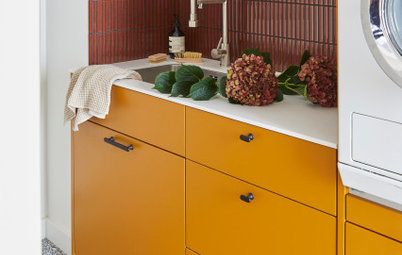
Utility Rooms
15 Richly Coloured Utility Rooms
The trend for strong, earthy tones has reached the utility room, with hues from plum to ochre to deep green adding depth
Full Story
Kitchens
Which Kitchen Worktop Colour Should You Choose?
By tidgboutique
Consider these popular colours and styles to get the look you want, no matter which material you use
Full Story
Colour
8 Ways to Work a Rust Red and Blue Palette in the Bedroom
By Kate Burt
We’re seeing variations of this combination all over Houzz right now. Check out these tips for trying it yourself
Full Story
Colour
Creative Ways to Make a Feature of Structural Beams
Turn your RSJ into something more than just functional with these clever ideas from our Houzz Tours
Full Story
Gardens
9 Ways to Enjoy Colour in Your Garden All Year Round
By Kate Burt
However your garden grows, you can add colour with hardscaping, furniture and accessories
Full Story
Gardens
What Will We Want in Our Gardens in 2024?
Discover the gardening trends homeowners will be bringing into their outdoor spaces this spring and summer
Full Story
Kitchens
What to Expect at the Biggest Kitchen, Bedroom and Bathroom Show
Plan ahead with our rundown of what’s in store at the kbb Birmingham event this March
Full Story
Colourhappy...it is good stuff and vastly better than powder filler for the smaller imperfections!
make sure you remove the masking tape before the paint dries or else it could take some of the paint with it...ouch