How to Update Your Kitchen Cabinets With Paint
A pro gives advice on when and how to paint your cabinets. Get the step-by-step
Five Star Painting
21 January 2018
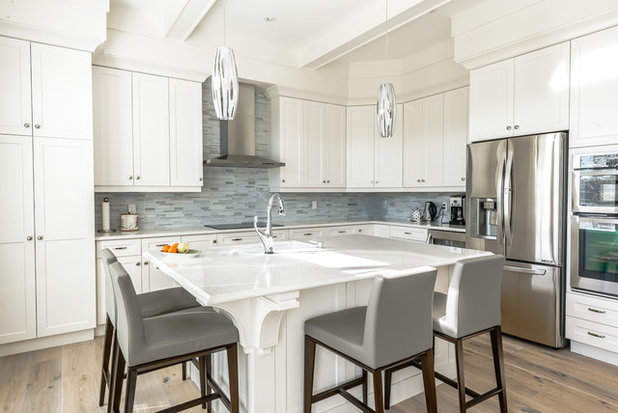
Have your kitchen cabinets gone from new to vintage to what you consider an eyesore? Does it feel like you should be wearing bell bottoms and a butterfly collar when you’re reaching for a plate? If you said yes, perhaps it’s time to admit your cabinets need a refresh. Getting a new look doesn’t have to set you back thousands of dollars. Instead, consider how new paint could transform your kitchen cabinets.
Let’s take a look at when paint works, what colors of paint to use on your cabinets and how to paint your cabinets yourself.
Let’s take a look at when paint works, what colors of paint to use on your cabinets and how to paint your cabinets yourself.
Should You Paint or Replace Your Kitchen Cabinets?
Before you begin repainting, first analyze the “bones” of your existing cabinets to make sure they are in stable enough condition to repaint. Chipping or cracked wood or water damage are warning signs that they might need to be replaced, not just repainted. Additionally, if the cabinetry does not function well enough for you and your family to use, you may want to also consider replacement. If you determine your cabinets are in good condition but simply need a refresh, you are a prime candidate for cabinet repainting.
Cabinets 101: How to Get the Storage You Want
Paint Color Considerations
Kitchens are the gathering place in the home, so you want to be sure the overall design is welcoming and reflects the aesthetic of the house.
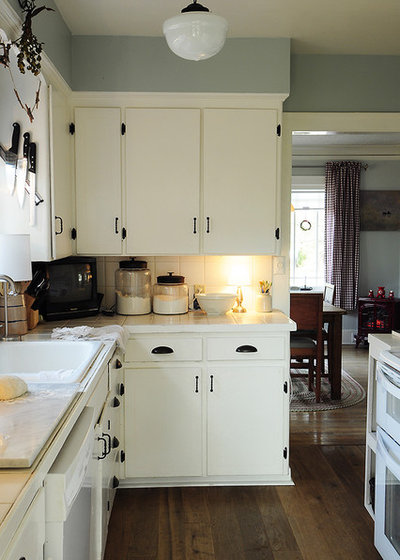
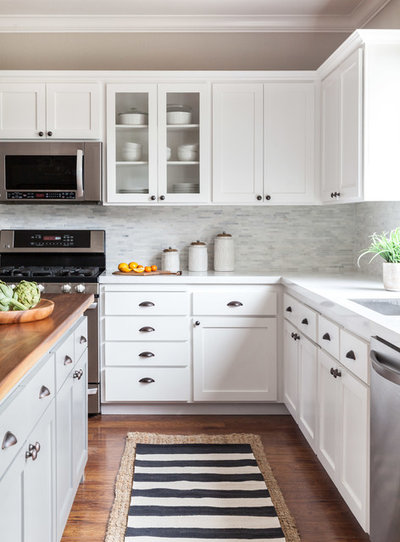
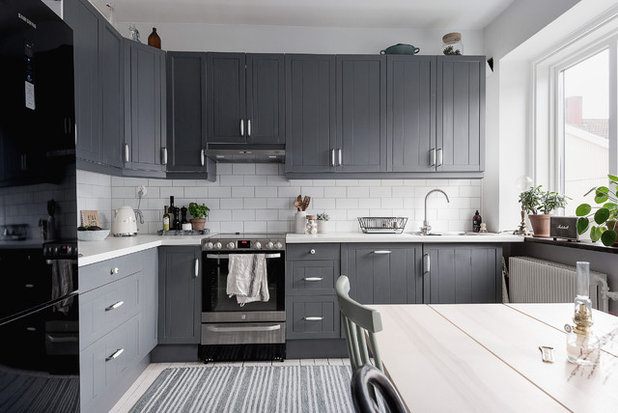
For cabinets, many times I find that neutral paint, such as white, beige and gray, will give your kitchen a welcoming and clean look.
White Cabinets Remain at the Top of Kitchen Wish Lists
More ideas for cabinet paint colors
Kitchens are the gathering place in the home, so you want to be sure the overall design is welcoming and reflects the aesthetic of the house.
For cabinets, many times I find that neutral paint, such as white, beige and gray, will give your kitchen a welcoming and clean look.
White Cabinets Remain at the Top of Kitchen Wish Lists
More ideas for cabinet paint colors
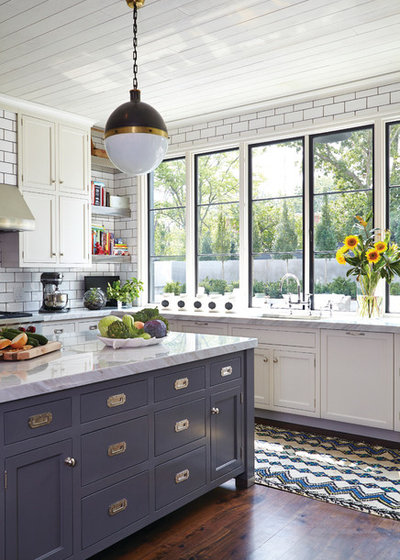
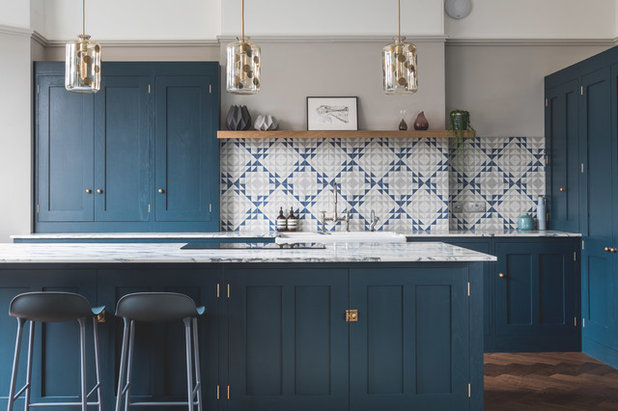
You can also paint in more than one color to reflect your style. The island is a great place to bring in a bright or moody color. This will turn the island into a focal point.
7 White Kitchens That Make the Case for Painting the Island
7 White Kitchens That Make the Case for Painting the Island
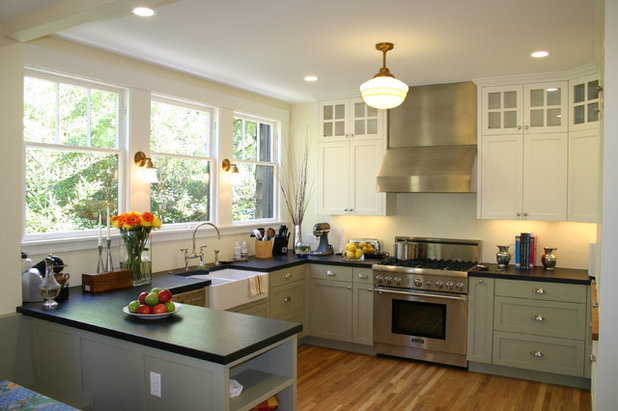
Another option is using two-tone combinations to add a little bit of drama and contrast. When incorporating a two-tone color design, always be sure to anchor the kitchen by using the darker color on the bottom cabinet and lighter on top.
Pro tip. I’ve used paint colors like Benjamin Moore’s North Sea on the bottom portion of the cabinets and then Meadow Mist on top, or Sherwin-Williams’ Cityscape below and Alabaster above.
8 Great Kitchen Cabinet Color Palettes | Find cabinets pros near you
Pro tip. I’ve used paint colors like Benjamin Moore’s North Sea on the bottom portion of the cabinets and then Meadow Mist on top, or Sherwin-Williams’ Cityscape below and Alabaster above.
8 Great Kitchen Cabinet Color Palettes | Find cabinets pros near you
How to Paint Your Kitchen Cabinets
Going the DIY route will most likely save you money, but it will take some time and patience. Here’s a step-by-step look at how to repaint your cabinets and have them looking great again.
Going the DIY route will most likely save you money, but it will take some time and patience. Here’s a step-by-step look at how to repaint your cabinets and have them looking great again.
1. Prep kitchen and painting area. First things first: Protect your floor from dripping paint with cardboard or cloths.
2. Dismantle cabinets. Remove the cabinet doors and front parts of drawers as well as any knobs, hinges, latches and other hardware with a screwdriver. Make sure to keep the hardware and cabinets organized and easy to locate for reassembling at the end of the project.
Pro tip. Use a pencil to number your cabinet drawers and doors for easy reassembly.
3. Clean everything. Scrub all parts of the cabinets to remove any contaminants from cooking or otherwise. Some options include a chemical cleaner such as a TSP substitute or several drops of dish detergent in a half-filled bucket of water. Alternatively, use a couple tablespoons of distilled white vinegar with a gallon of water.
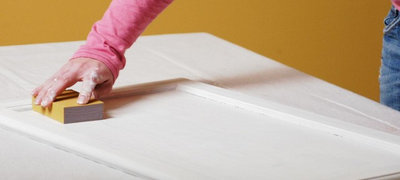
4. Sand. Smooth out the cabinet surfaces with fine-grit sandpaper and clean them with a clean tack cloth. Then, vacuum away any dust as best as possible to ensure a clean surface.
Pro tip. You don’t need to sand all the way to the bare wood, as some preexisting paint can remain on the cabinet prior to repainting.
Pro tip. You don’t need to sand all the way to the bare wood, as some preexisting paint can remain on the cabinet prior to repainting.
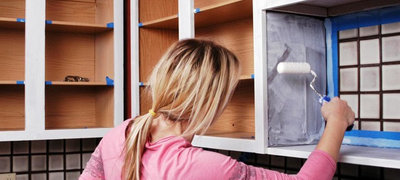
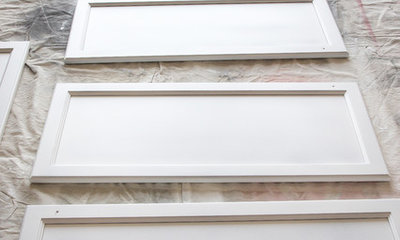
5. Apply first coat. Apply a coat of primer-sealer to all of the cabinet’s doors and siding. This will ensure the paint bonds well to the wood.
The best options for primer include a shellac-based primer, such as B-I-N, or an oil-based primer. Both of these will also help to prevent darker wood from showing through.
If necessary, a second coat of primer can also be applied.
Pro tip. You’ll want to sand between coats of primer as well as between coats of paint.
6. Paint with a top option. When choosing the paint, you want to make sure you use premium-quality paint. Many pros recommend Benjamin Moore Advance or Sherwin-Williams ProClassic, which come in a variety of finish options. Although this paint is more expensive, you don’t want to skimp out on the paint quality, especially if you are going the DIY route.
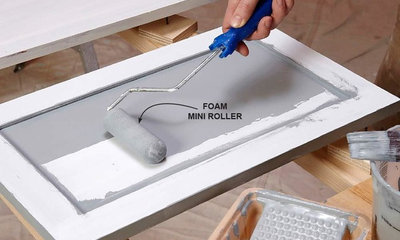
7. Paint again. Repaint the cabinets with a brush, followed by a foam roller to ensure there are no visible brush marks.
Make sure to paint the doors and drawers outside to mitigate the amount of fumes circulating in your home.
Pro tip. If you have a little more room in your budget, consider using a professional spray gun. A specialist at your local hardware store can recommend the right tool for your needs.
8. Finish up. Reattach the doors and reinstall drawers once the paint has dried completely.
Then, reconnect everything with a screwdriver, which should be simple if you organized the hardware when first removing it.
Then, reconnect everything with a screwdriver, which should be simple if you organized the hardware when first removing it.
If you’re unsure how to inspect or paint your cabinets, consider hiring a professional for the job. Regardless of who is doing the work, good luck with your kitchen update and happy remodeling!
Your turn. Have you painted your kitchen cabinets? Show us how they look by sharing a photo in the Comments.
More
How to Reface Your Old Kitchen Cabinets
Find professional painters in your area
Read more painting guides
Shop for painting tools
Your turn. Have you painted your kitchen cabinets? Show us how they look by sharing a photo in the Comments.
More
How to Reface Your Old Kitchen Cabinets
Find professional painters in your area
Read more painting guides
Shop for painting tools

Related Stories
More Rooms
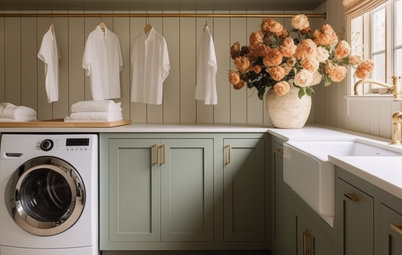
The 5 Most Popular Laundry Rooms on Houzz Right Now
Get decorating ideas for your laundry or utility room from these most-saved photos on Houzz
Full Story
Gardens
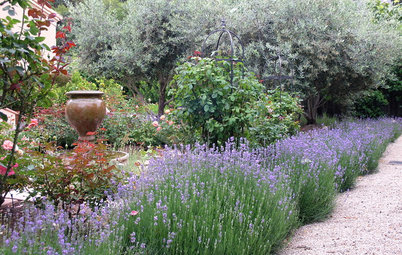
How Do I Create a Drought-tolerant Garden?
By Kate Burt
As summers heat up, plants that need less water are increasingly desirable. Luckily, there are lots of beautiful options
Full Story
Houzz Tours
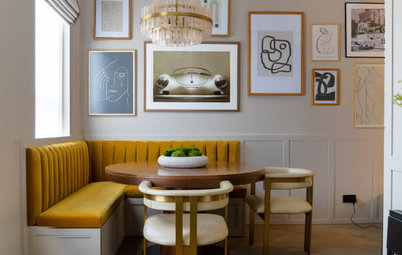
Houzz Tour: Warm Tones and Luxurious Surfaces in a City Townhouse
An earthy colour palette, hidden storage and well-placed texture add character and practicality to this London home
Full Story
Gardens
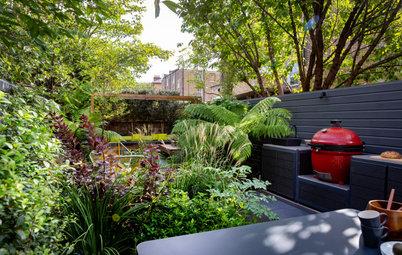
5 Inspiring Before and After Garden Transformations
Check out what a difference designers have made to these once dull plots, visually expanding spaces and creating privacy
Full Story
Houzz Tours
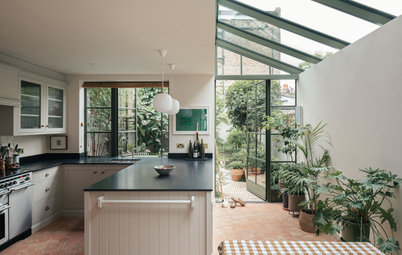
Kitchen Tour: A Gorgeous Extension With a Leafy Glasshouse Feel
By Kate Burt
When the owners of this terraced house extended, they were keen to retain its period feel and highlight the garden
Full Story

Gardens
How to Disguise Rubbish and Recycling Bins Outside Your Home
Need to hide unsightly bins in your garden or driveway? Take a look at these clever ideas for inspiration
Full Story

Renovating
21 Ways Designers Are Incorporating Arches Into Homes
By Kate Burt
Everywhere we look on Houzz right now, a cheeky arch pops up. How would you add this timeless architectural feature?
Full Story

Lifestyle
How to Improve the Air Quality in Your Home
Want to ensure your home environment is clean and healthy? Start by assessing the quality of your air
Full Story
Gardens
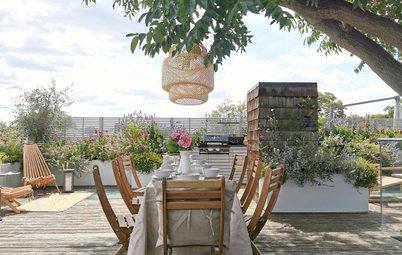
Garden Tour: A Bare Roof Terrace Becomes a Pretty, Sociable Space
By Kate Burt
A retired couple got help transforming their large rooftop into a gorgeous, welcoming, multi-functional retreat
Full Story
Living Rooms
8 Mistakes to Avoid in Your Small Living Room
Swerve these common design errors to make a big impact in your compact sitting room
Full Story
Looks great! Good job
Might you have any photos of kitchens with North Sea on bottom and Meadow Mist on top? Or the City Scape/Alabaster combo? Cannnnnnnot decide what to do in my small kitchen in my 1904 brick bungalow.
We took on the project and here are the results with before and after pics